Skip to Main Content
Toggle navigation
Home
About
Gallery
Kites
FAQs
Menu
Events & Catering
Private Events
Catering
Gift Cards
Purchase
Balance/Add Value
Contact
Contact Us
Join Our Eclub
Leave A Review
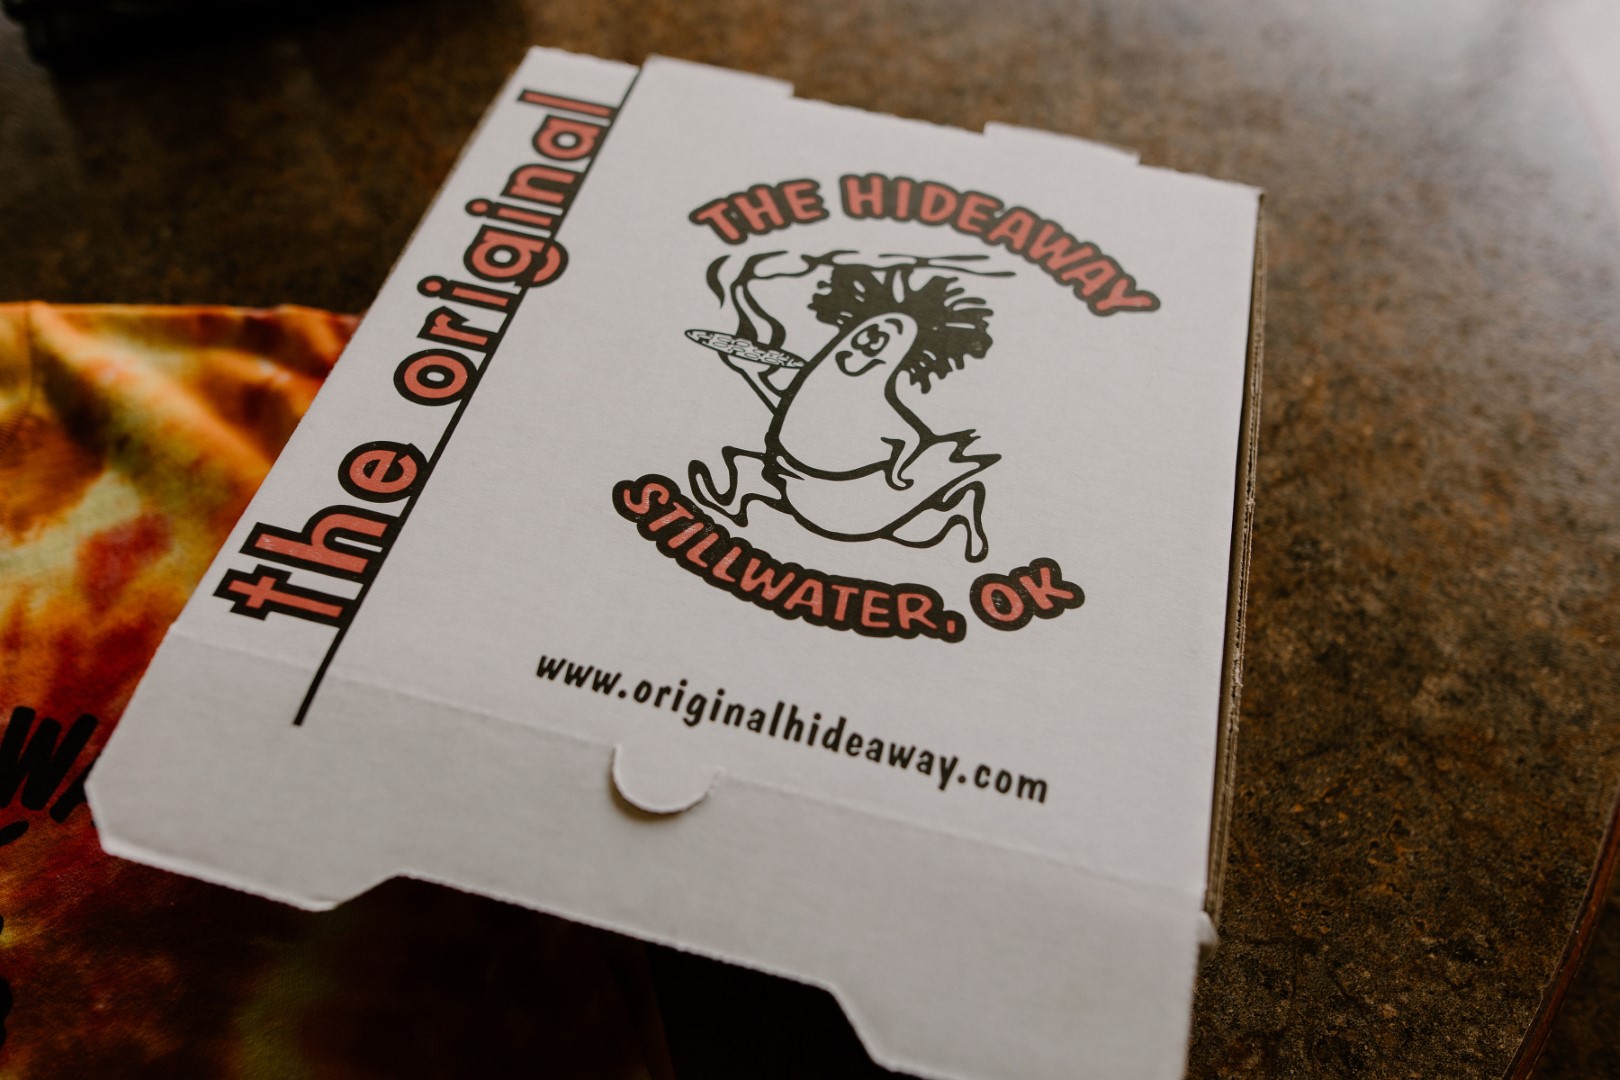
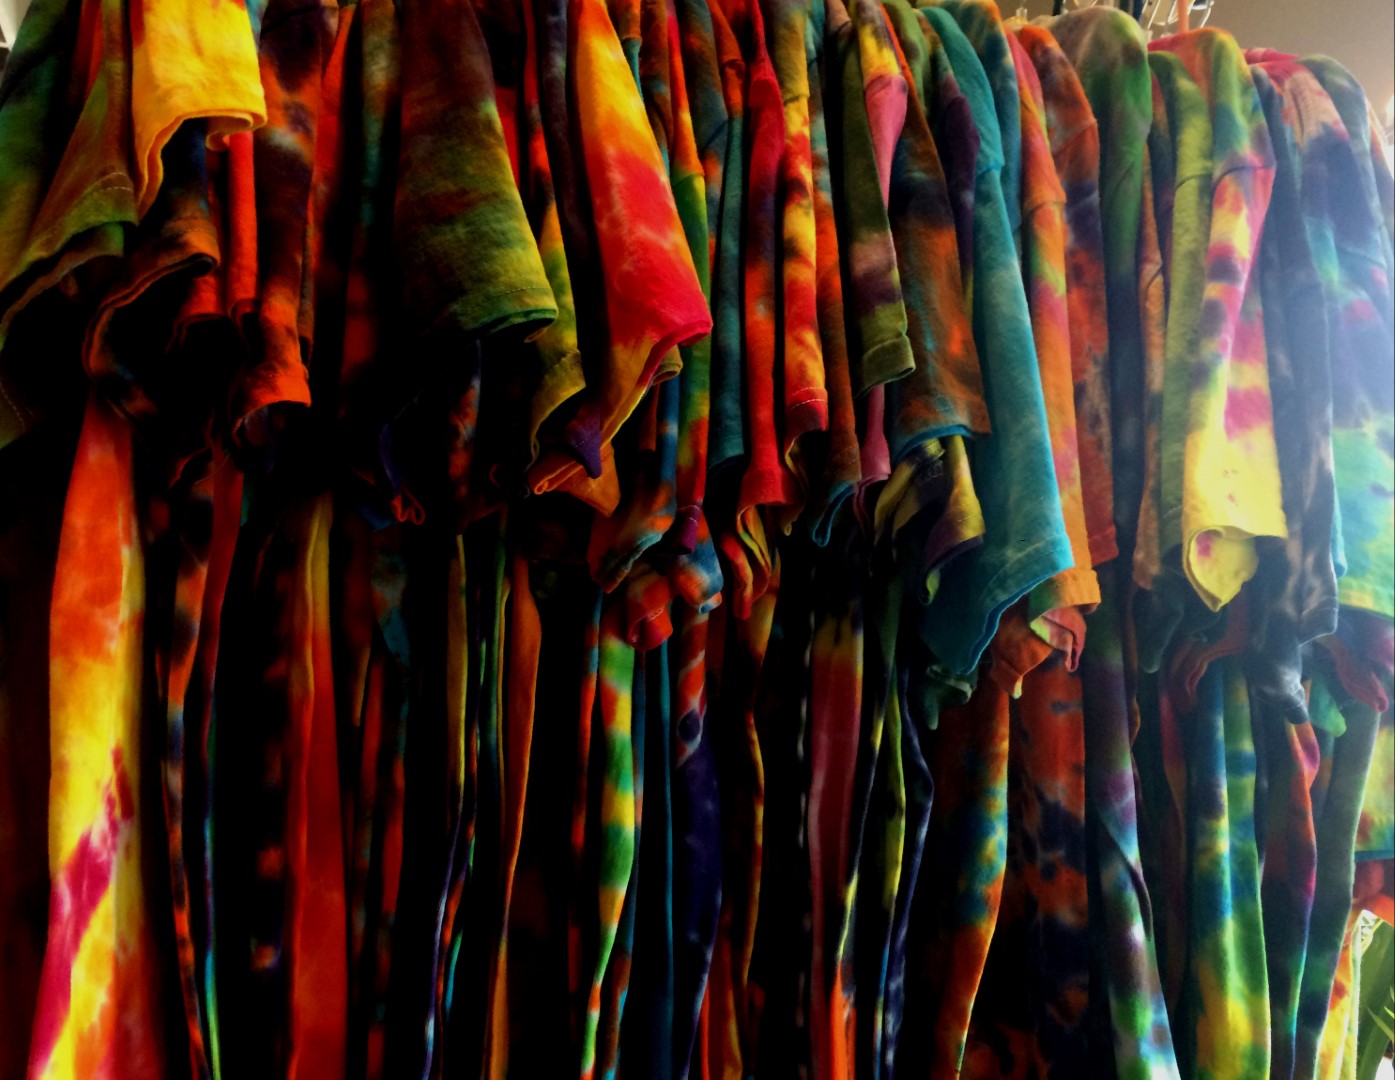
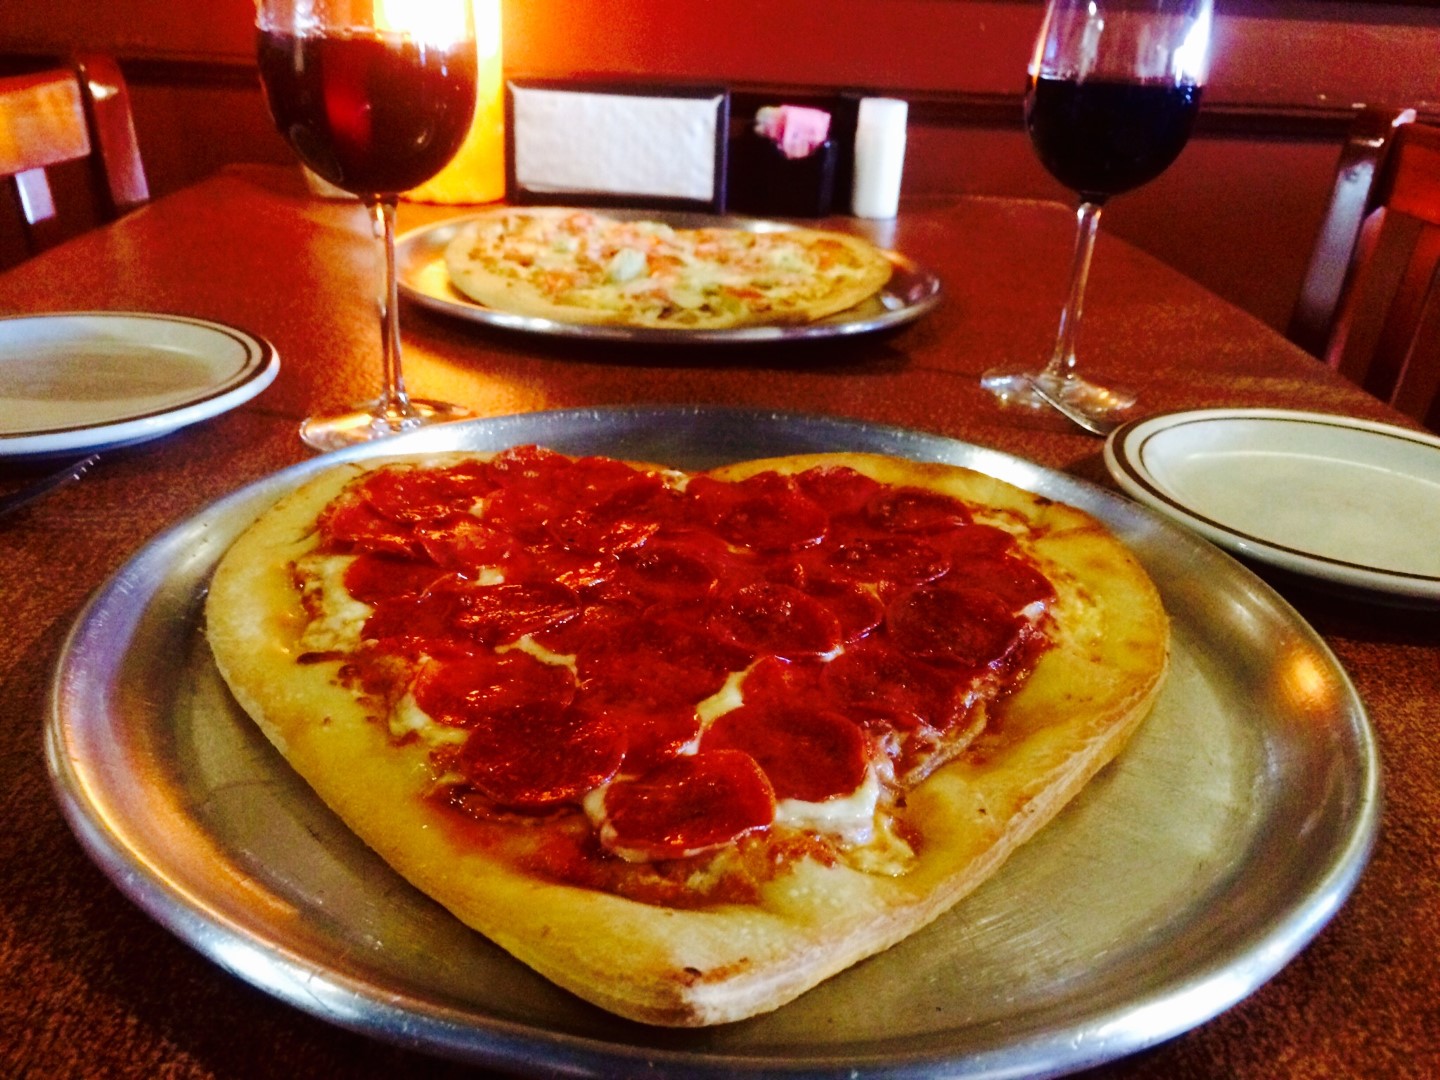
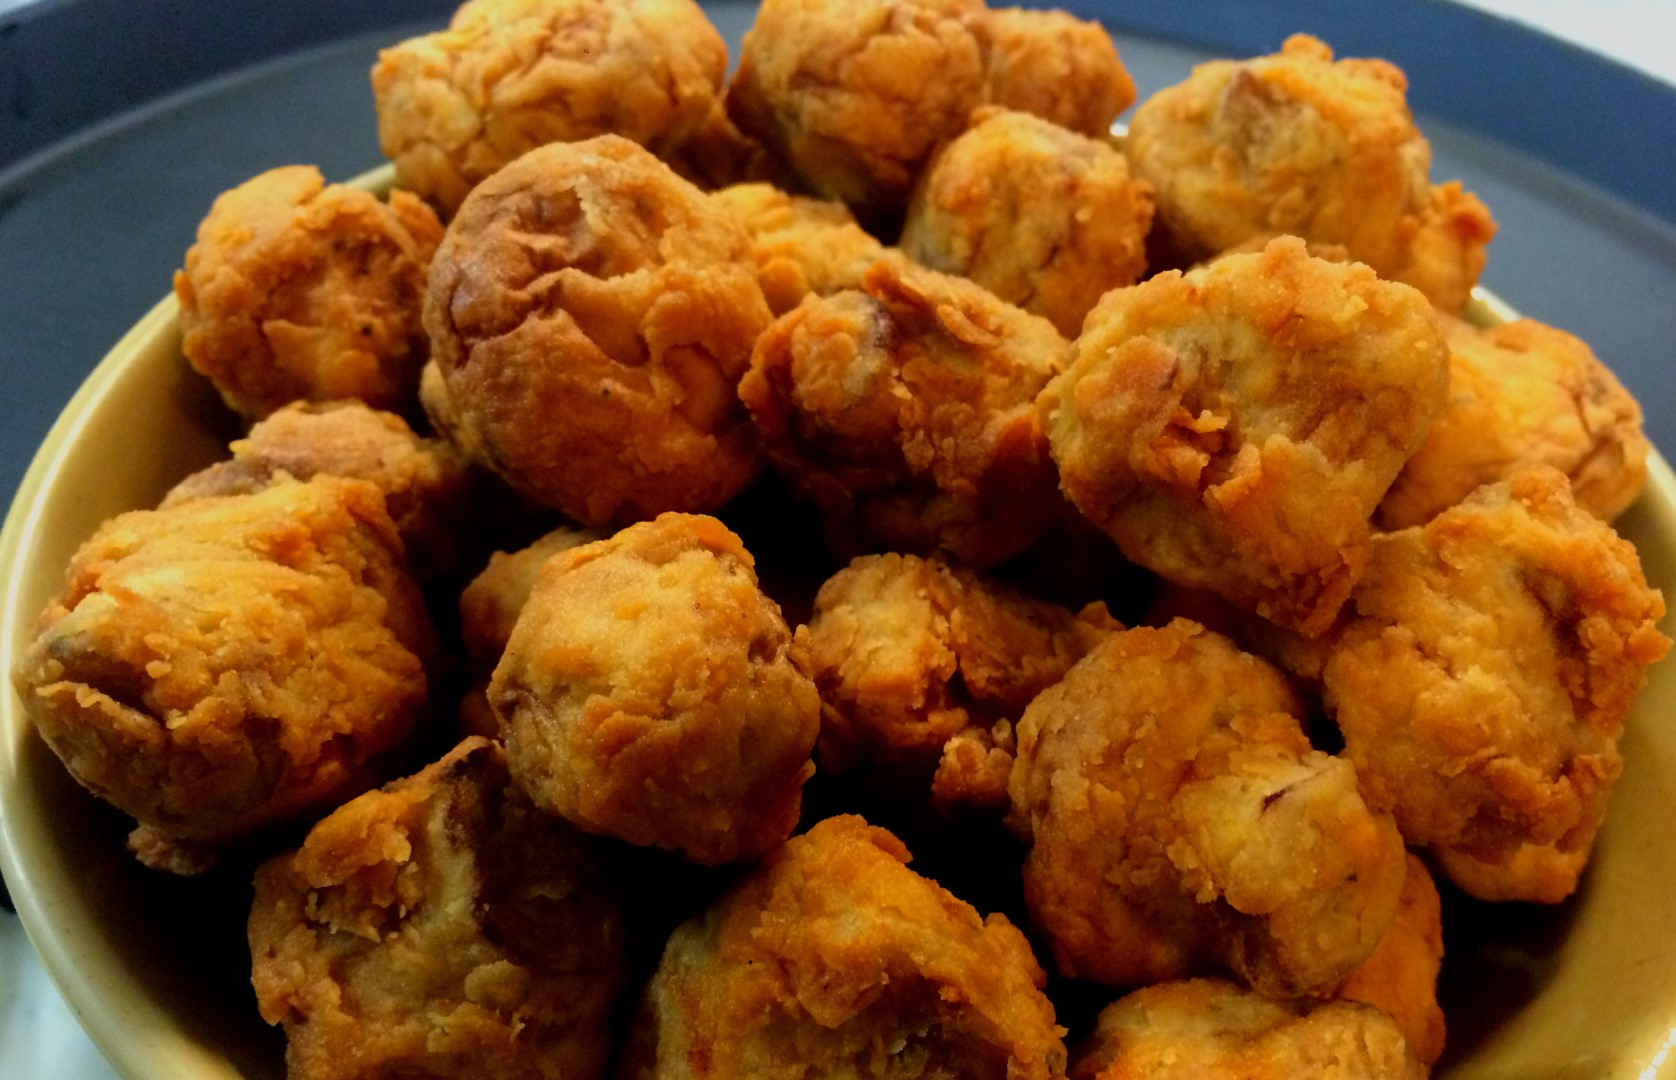
Gallery